Sheets with Deno Deploy
Deno Deploy offers distributed "Serverless Functions" powered by Deno.
SheetJS is a JavaScript library for reading and writing data from spreadsheets.
This demo covers integration details. We'll explore how to load and use SheetJS scripts in Deno Deploy functions.
The "Demo" section builds a sample service that converts XLSX and other types of spreadsheets to HTML tables and CSV rows.
When the demo was last tested, Deno Deploy required a GitHub account.
This demo was last tested by SheetJS users on 2025-01-15.
Integration Details
The SheetJS Deno module can be imported from Deno Deploy server scripts.
Supported Frameworks
Deno Deploy does not offer any sort of temporary file access in functions.
This breaks web frameworks that use the filesystem in body parsing.
When the demo was last tested, the drash server framework used an in-memory
approach for parsing POST request bodies.
The Drash demo covers the framework in detail.
Parsing Data
When files are submitted via HTTP POST, the bodyParam method can fetch data.
The content property of the returned object can be parsed with XLSX.read.
The following example assumes the file is submitted at field name file:
// @deno-types="https://cdn.sheetjs.com/xlsx-0.20.3/package/types/index.d.ts"
import { read, utils } from 'https://cdn.sheetjs.com/xlsx-0.20.3/package/xlsx.mjs';
import * as Drash from "https://cdn.jsdelivr.net/gh/drashland/[email protected]/mod.ts";

class SheetJSResource extends Drash.Resource {
  public paths = ["/"];

  public POST(request: Drash.Request, response: Drash.Response) {
    /* get data from body */
    const file = request.bodyParam<Drash.Types.BodyFile>("file");
    /* parse */
    var wb = read(file.content, {type: "buffer", dense: true});
    /* generate HTML from first worksheet */
    return response.html(utils.sheet_to_html(wb.Sheets[wb.SheetNames[0]]));
  }
}
Demo
-
Create a new GitHub account or sign into an existing account.
-
Open the main Deno Deploy portal in a browser.
-
If the account never signed into Deno Deploy, click "Continue with Github".
In the next screen, review the prompt and click "Authorize Deno Deploy".
If a welcome screen is displayed, click "I know what I'm doing".
If a Terms and Conditions prompt is displayed, review the Terms and Conditions and the Privacy Policy before checking the box and clicking "Continue"
-
Click "New Playground" to create a new Playground.
-
Download
s2c.ts. -
Open
s2c.tswith a text editor and copy the contents of the source file into the playground editor (left pane in the browser).

- Click "Save and Deploy". When the demo was last tested, it was a blue button.

Testing
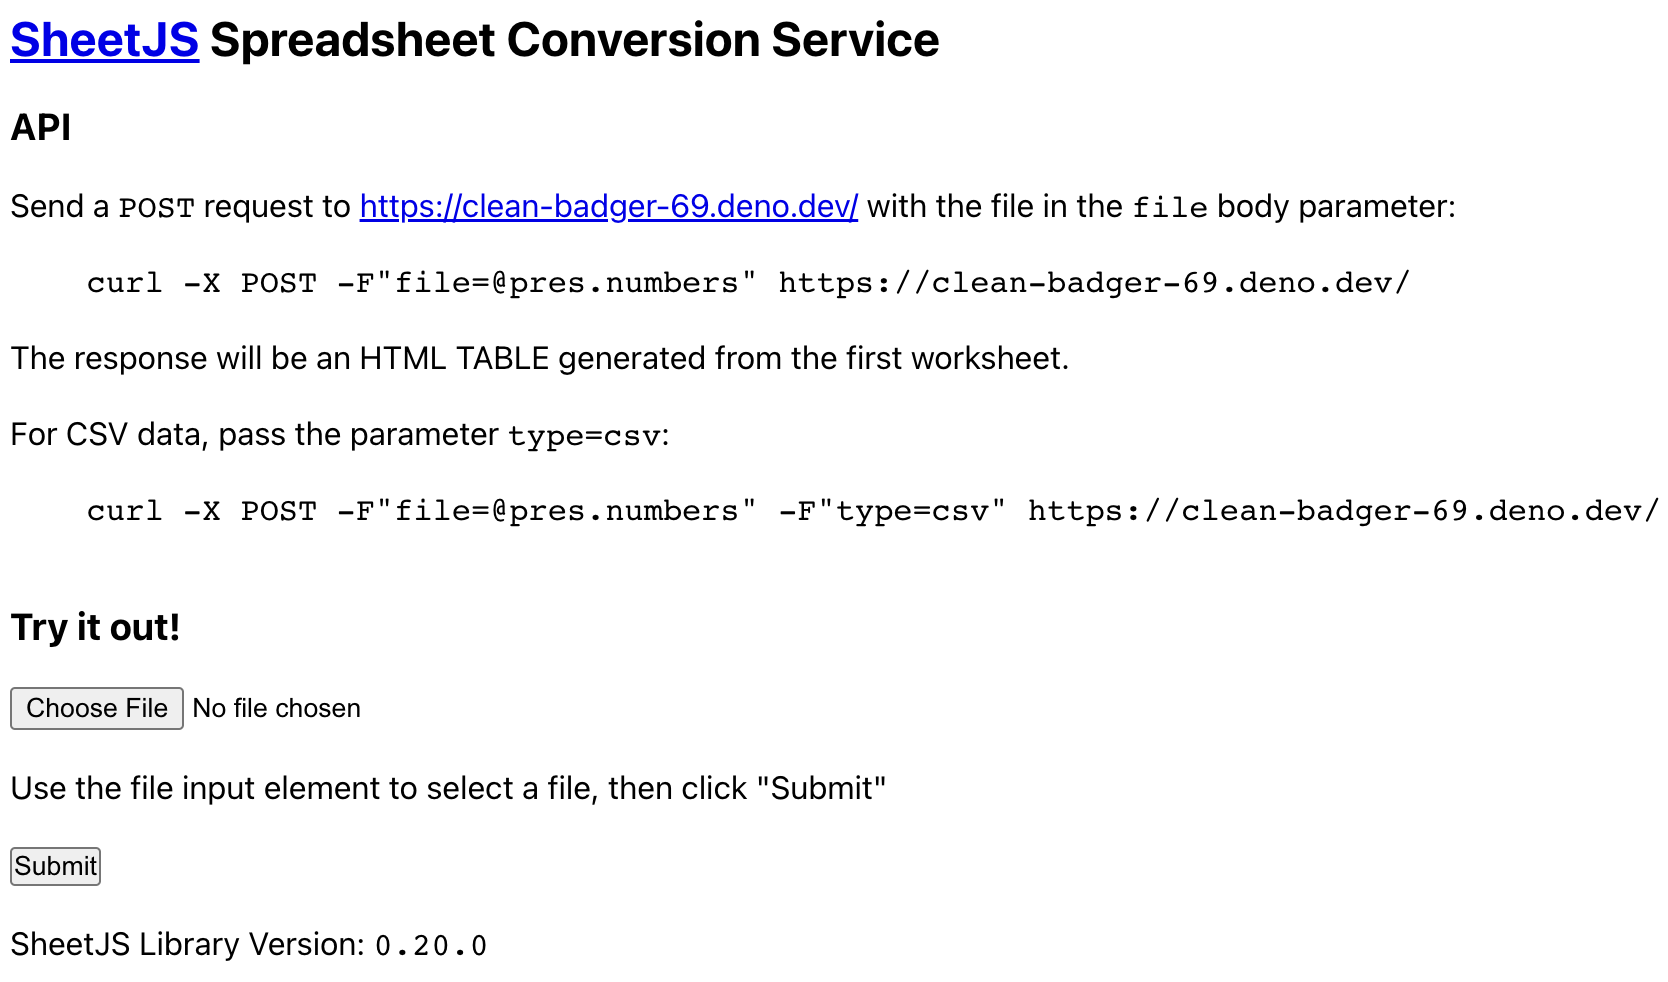
- Wait until the server is deployed. When it is deployed, the right panel will show "SheetJS Spreadsheet Conversion Service":
-
Download the test file https://docs.sheetjs.com/pres.xlsx
-
In the browser window, click "Choose File" and select the downloaded file.
-
Click "Submit". The right panel will show the contents in a HTML TABLE.
-
Open a terminal window and download https://docs.sheetjs.com/pres.numbers:
curl -LO https://docs.sheetjs.com/pres.numbers
- Copy the first
curlline from the page and run in the terminal. For example, if the deployment isclean-badger-69, the command would be
curl -X POST -F"[email protected]" https://clean-badger-69.deno.dev/
The output will be an HTML table
- Copy the second
curlline from the page and run in the terminal. For example, if the deployment isclean-badger-69, the command would be
curl -X POST -F"[email protected]" -F"type=csv" https://clean-badger-69.deno.dev/
The output will be CSV.
