Data Conduction in Ionic Apps
Ionic is a mobile app framework for building iOS and Android apps with the Cordova platform.
SheetJS is a JavaScript library for reading and writing data from spreadsheets.
This demo uses Ionic and SheetJS to process data and generate spreadsheets. We'll explore how to load SheetJS in an Ionic app and use Ionic APIs and plugins to extract data from, and write data to, spreadsheet files on the device.
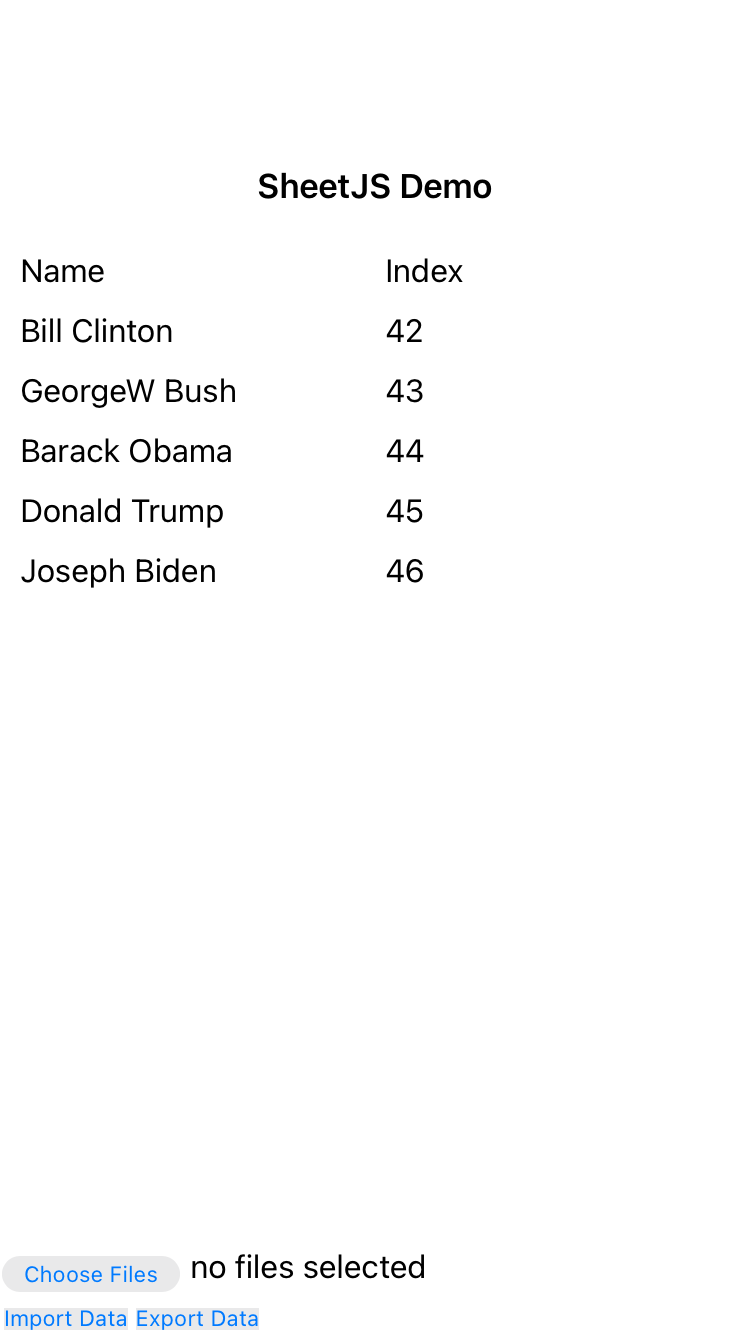
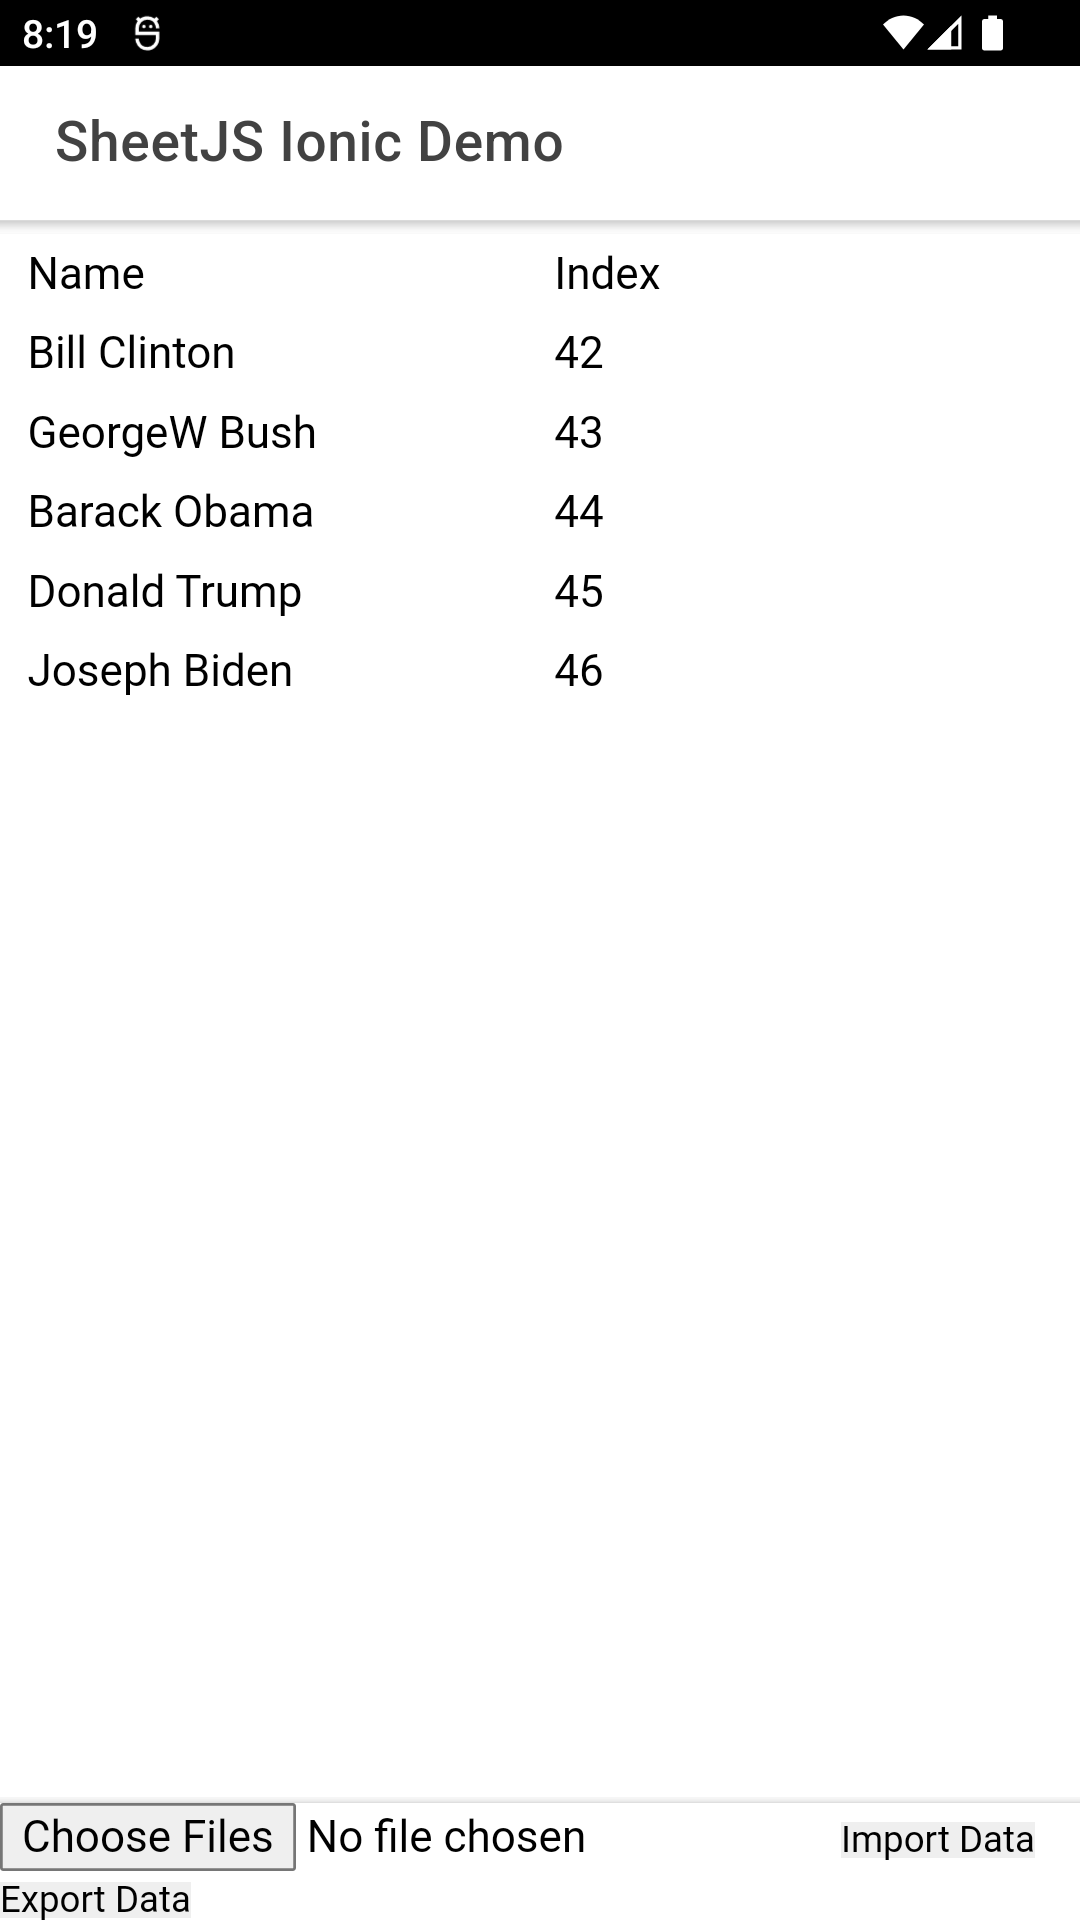
The "Demo" creates an app that looks like the screenshots below:
| iOS | Android |
|---|---|
|
|
This demo covers Ionic apps using the Cordova platform.
The CapacitorJS demo covers CapacitorJS apps.
This demo was tested in the following environments:
Real Devices
| OS | Device | Config | Date |
|---|---|---|---|
| Android 34 | NVIDIA Shield | B | 2025-03-30 |
| iOS 15.6 | iPhone 13 Pro Max | B | 2025-03-30 |
Simulators
| OS | Device | Config | Dev Platform | Date |
|---|---|---|---|---|
| Android 34 | Pixel 3a | B | darwin-arm | 2025-03-30 |
| iOS 18.2 | iPhone SE (3rd gen) | B | darwin-arm | 2025-03-30 |
| Android 36 | Pixel 9 Pro XL | A | win11-x64 | 2025-04-17 |
Configurations (click to show)
Configuration A:
- Ionic:
@ionic/angular 8.5.2,@ionic/angular-toolkit 12.1.1 - Cordova:
[email protected],android 14.0.0 - File Integration:
@awesome-cordova-plugins/fileversion6.16.0
Configuration B:
- Ionic:
@ionic/angular 8.5.2,@ionic/angular-toolkit 12.1.1 - Cordova:
[email protected],android 14.0.0, ios 7.1.1 - File Integration:
@awesome-cordova-plugins/fileversion6.16.0
Before starting this demo, manually disable telemetry:
npx -y @ionic/cli config set -g telemetry false
npx -y @capacitor/cli telemetry off
To verify telemetry was disabled:
npx -y @ionic/cli config get -g telemetry
npx -y @capacitor/cli telemetry
Integration Details
The SheetJS NodeJS Module can be imported from any component or script in the app.
Internal State
The "Angular" demo discusses a number of state representations and preview strategies.
For this demo, the internal state is an "array of arrays"1 (any[][]):
import { Component } from '@angular/core';
type AOA = any[][];

@Component({...})
export class SheetJSTablePage {
  data: AOA = [
    ["S", "h", "e", "e", "t", "J", "S"],
    [  5,   4,   3,   3,   7,   9,   5]
  ];
  // ...
}
Displaying Data
ion-grid2 is a display grid component. The Angular ngFor directive3
simplifies iteration over the array of arrays:
<ion-grid>
  <ion-row *ngFor="let row of data">
    <ion-col *ngFor="let val of row">
      {{val}}
    </ion-col>
  </ion-row>
</ion-grid>
File Operations
The cordova-plugin-file plugin reads and writes files on devices.
For Android 30+, due to scoped storage rules, the standard file module writes private files that cannot be accessed from the Files app.
A Storage Access Framework plugin must be used to write external files.
@awesome-cordova-plugins/file is a wrapper designed for Ionic + Angular apps.
The plugins in the @ionic-native scope have been deprecated. The community
modules in the @awesome-cordova-plugins scope should be used.
Reading Files
this.file.readAsArrayBuffer reads file data from a specified URL and resolves
to ArrayBuffer objects.
These objects can be parsed with the SheetJS read method4. The SheetJS
sheet_to_json method5 with the option header: 1 generates an array of
arrays which can be assigned to the page state:
/* read a workbook file */
const ab: ArrayBuffer = await this.file.readAsArrayBuffer(url, filename);
/* parse */
const wb: XLSX.WorkBook = XLSX.read(ab, {type: 'array'});
/* generate an array of arrays from the first worksheet */
const ws: XLSX.WorkSheet = wb.SheetNames[wb.Sheets[0]];
const aoa: AOA = XLSX.utils.sheet_to_json(ws, {header: 1});
/* update state */
this.data = aoa;
Writing Files
this.file.writeFile writes file data stored in Blob objects to the device.
From the array of arrays, the SheetJS aoa_to_sheet method6 generates a
worksheet object. The book_new and book_append_sheet helpers7 generate a
workbook object. The SheetJS write method8 with the option type: "array"
will generate an ArrayBuffer, from which a Blob can be created:
/* generate worksheet */
const ws: XLSX.WorkSheet = XLSX.utils.aoa_to_sheet(this.data);

/* generate workbook and add the worksheet */
const wb: XLSX.WorkBook = XLSX.utils.book_new();
XLSX.utils.book_append_sheet(wb, ws, 'SheetJS');

/* write XLSX to ArrayBuffer */
const ab: ArrayBuffer = XLSX.write(wb, { bookType: 'xlsx', type: 'array' });

/* generate Blob */
let blob = new Blob([ab], {type: 'application/octet-stream'});

/* write Blob to device */
this.file.writeFile(url, filename, blob, {replace: true});
Demo
The app in this demo will display data in a table.
On load, a test file will be processed.
When a document is selected with the file picker, it will be processed and the table will refresh to show the contents.
"Import Data" will attempt to read SheetJSIonic.xlsx from a known location. An
alert will display the expected location.
"Export Data" will attempt to export the table data to SheetJSIonic.xlsx in a
known location. After writing, an alert will display the location of the file.
Platform Setup
- Disable telemetry:
npx -y @ionic/cli config set -g telemetry false
npx -y @capacitor/cli telemetry off
- Follow the official instructions for iOS and Android development9.
Installation Notes (click to show)
Ionic requires Java 17.
- Install required global dependencies:
npm i -g cordova cordova-res @angular/cli native-run @ionic/cli
In some systems, the command must be run as the root user:
sudo npm i -g cordova cordova-res @angular/cli native-run @ionic/cli
Base Project
- Create a new project:
ionic start SheetJSIonic blank --type angular --cordova --quiet --no-git --no-link --confirm
When asked to select NgModules or Standalone Components, select NgModules
If a prompt asks to confirm Cordova use, enter Y to continue.
If a prompt asks to create an Ionic account, enter N to opt out.
Due to conflicts in the dependency tree, the command failed in some test runs.
If the package installation fails, forcefully install all modules:
cd SheetJSIonic
npm i --force @angular/cli
npm i --force
cd ..
- Set up Cordova:
cd SheetJSIonic
ionic cordova plugin add cordova-plugin-file
npm i --save @awesome-cordova-plugins/core @awesome-cordova-plugins/file @ionic/cordova-builders
If the npm i step fails due to rxjs resolution, add the highlighted lines
to package.json to force a resolution:
  "private": true,
  "overrides": {
    "rxjs": "~7.5.0"
  },
  "dependencies": {
Note that the required rxjs version will be displayed in the error log.
After adding the lines, the npm i command will succeed.
- Install dependencies:
npm i --save https://cdn.sheetjs.com/xlsx-0.20.3/xlsx-0.20.3.tgz
- Add the
@awesome-cordova-plugins/fileplugin tosrc/app/app.module.ts:
import { AppComponent } from './app.component';
import { AppRoutingModule } from './app-routing.module';

import { File } from '@awesome-cordova-plugins/file/ngx';

@NgModule({
  declarations: [AppComponent],
  imports: [BrowserModule, IonicModule.forRoot(), AppRoutingModule],

  providers: [File, { provide: RouteReuseStrategy, useClass: IonicRouteStrategy }],
  bootstrap: [AppComponent],
})
export class AppModule {}
- Download
home.page.tsand replace:
curl -o src/app/home/home.page.ts -L https://docs.sheetjs.com/ionic/home.page.ts
In PowerShell, the command may fail with a parameter error:
Invoke-WebRequest : A parameter cannot be found that matches parameter name 'L'.
curl.exe must be invoked directly:
curl.exe -o src/app/home/home.page.ts -L https://docs.sheetjs.com/ionic/home.page.ts
Android
- Add the Android platform to the project:
ionic cordova platform add android --confirm
npm i --save cordova-android
- Enable file reading and writing in the Android app.
Edit platforms/android/app/src/main/AndroidManifest.xml and add the following
two lines before the application tag:
    <uses-permission android:name="android.permission.READ_EXTERNAL_STORAGE"/>
    <uses-permission android:name="android.permission.WRITE_EXTERNAL_STORAGE"/>
In the application tag, add the attribute android:requestLegacyExternalStorage="true".
- Build the app and start the emulator:
ionic cordova emulate android
If prompted to share pseudonymous usage data with Google, type N and press Enter to opt out.
If prompted to share anonymous usage data with Cordova, type N.
When the app is loaded, a list of Presidents should be displayed. This list is dynamically generated by fetching and parsing a test file.
In some test runs, cordova build android --emulator step failed with error:
Could not find or parse valid build output file
This was resolved by forcefully installing cordova-android:
npm i --save cordova-android
In some test runs, Ionic could not find the emulator:
ERR_NO_TARGET: No target devices/emulators available.
The target emulator can be found by running
avdmanager list avd
In a test run, the output showed a Pixel 3a with the following details:
    Name: Pixel_3a_API_34
  Device: pixel_3a (Google)
    Path: /Users/SheetJS/.android/avd/Pixel_3a_API_34.avd
The Ionic command accepts a --target flag. Pass the emulator name:
ionic cordova emulate android --target=Pixel_3a_API_34
In some tests, the build failed with a Gradle error:
Could not find an installed version of Gradle either in Android Studio,
or on your system to install the gradle wrapper. Please include gradle
in your path or install Android Studio
On macOS, this issue was resolved by installing Gradle with Homebrew manager:
brew install gradle
In Windows, Gradle must be installed manually10
When the demo was last tested on Android, reading files worked as expected. However, the generated files were not externally visible from the Files app.
This is a known bug with Android SDK 33 and the underlying file plugins!
iOS
iOS testing can only be performed on Apple hardware running macOS!
Xcode and iOS simulators are not available on Windows or Linux.
- Add the iOS platform to the project:
ionic cordova platform add ios --confirm
If cordova-plugin-file is added before the platforms, installation may fail:
CordovaError: Could not load API for ios project
This can be resolved by removing and reinstalling the ios platform:
ionic cordova platform rm ios
ionic cordova platform add ios --confirm
- Enable file sharing and make the documents folder visible in the iOS app.
Add the following lines to
platforms/ios/SheetJSIonic/SheetJSIonic-Info.plist:
<plist version="1.0">
<dict>
  <key>UIFileSharingEnabled</key>
  <true/>
  <key>LSSupportsOpeningDocumentsInPlace</key>
  <true/>
  <key>CFBundleDevelopmentRegion</key>
(The root element of the document is plist and it contains one dict child)
- Build the app and start the simulator
ionic cordova emulate ios
When the app is loaded, a list of Presidents should be displayed. This list is dynamically generated by fetching and parsing a test file.
In some test runs, the cordova build ios --emulator step failed with error:
> cordova build ios --emulator
Could not load API for ios project
This was resolved by forcefully installing cordova-ios:
npm i --save cordova-ios
In the most recent test, the native-run ios command failed with
[native-run] ERR_UNKNOWN: Path 'platforms/ios/build/emulator/SheetJSIonic.app' not found
Inspecting platforms/ios/build/, the actual folder name was:
% ls platforms/ios/build
Debug-iphonesimulator
The iOS simulator can be launched manually:
native-run ios --app platforms/ios/build/Debug-iphonesimulator/SheetJSIonic.app --virtual
In some tests, the emulate command failed with:
Error: Unknown argument: platform
[ERROR] An error occurred while running subprocess ng.

        ng run app:ionic-cordova-build --platform=ios exited with exit code 1.
The fix is to manually add @ionic/cordova-builders:
ng add @ionic/cordova-builders
iOS Device
-
Connect an iOS device to the computer and "Trust" the device if prompted.
-
Enable code signing for the project:
Open the SheetJSIonic.xcodeproj project in Xcode:
open platforms/ios/SheetJSIonic.xcodeproj
Select the "SheetJSIonic" project in the "Project navigator" side panel.
In the main panel, select "Signing & Capabilities".
In the "Team" dropdown, select a certificate.
In the "Bundle Identifier" text box, enter com.sheetjs.SheetJSIonic
- Launch the app on the device:
ionic cordova run ios --device --verbose
In the most recent test, the native-run ios command failed with
[native-run] ERR_UNKNOWN: Path 'platforms/ios/build/device/SheetJSIonic.ipa' not found
Inspecting platforms/ios/build/, the actual folder name was:
% ls platforms/ios/build
Debug-iphoneos
To force native-run to use the device, the name must be found by inspecting
the output of native-run ios --list:
% native-run ios --list

Connected Devices:

  Name     API        Target ID
  ---------------------------------------------
  SheetJS  iOS 15.6   12345678-90ABCDEF12345678
native-run accepts a --device flag. Pass the device name:
native-run ios --app platforms/ios/build/Debug-iphoneos/SheetJSIonic.ipa --device SheetJS
- Test the app.
The app will fetch a file and display the contents in a table.
Tap "Export Data" to create a file. To find the file, switch to the "Files" app and browse "On My iPhone" > "SheetJSIonic". There should be a new spreadsheet named "SheetJSIonic".
Switch to the "Numbers" app and open that file. Tap "EDIT" to make changes. Change cell A7 to "SheetJS Dev" and cell B7 to 47. Tap "Done" and close the app.
Switch back to "SheetJSIonic" and tap "Import Data". Tap "Choose Files" in the popup. Tap "Browse" in the bottom of the sheet. Navigate to "On My iPhone" > "SheetJSIonic" and tap the new "SheetJSIonic" spreadsheet. The screen will show the file with the new line.
Footnotes
-
See "Workbook Helpers" in "Utilities" for details on
book_newandbook_append_sheet. ↩ -
See "Developing for iOS" and "Developing for Android". The Ionic team removed these pages from the official docs site and recommend the
vercel.appdocs site. ↩ -
See "Installing manually" in the Gradle documentation. ↩